![]()
![]() As I said in part one of the Westone Cutlass rebuild, I have decided not paint this guitar, but to keep it natural looking.
As I said in part one of the Westone Cutlass rebuild, I have decided not paint this guitar, but to keep it natural looking.
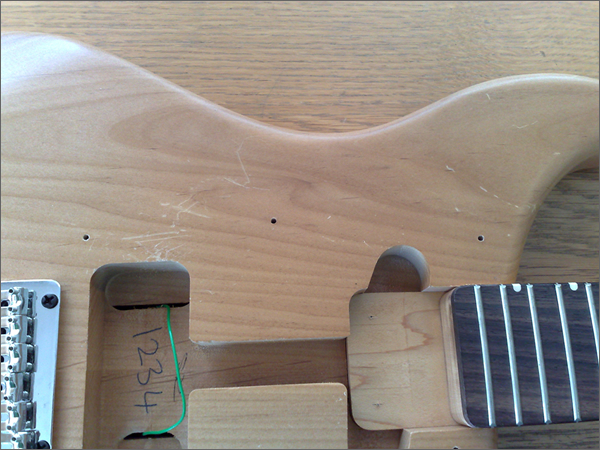
The original body finish was a pale, yellowy clear lacquer which suited the look of the guitar, but now has some quite deep scratches and dents on the front, back and upper horn (see pic).

Unlike a painted finish, it isn’t possible just to sand back the top coat and use wood filler to fill any blemishes. As the wood will be on display under a few coats of wood oil, the base has to be as perfect as possible.
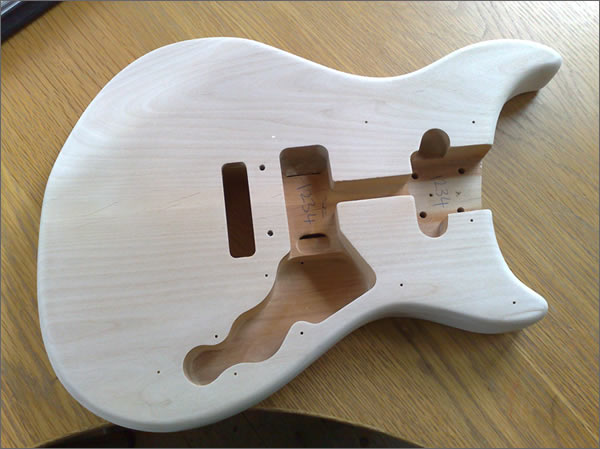
This lead to a hot sweaty Sunday afternoon with an array of different types of sandpaper and a sanding block to remove all traces of the old finish and the blemishes. I was lucky, none of the marking was so deep that it couldn’t be sanded out, and after an hour or two I had a pristine body, looking as good as the day it was cut! The grain is very attractive, with some darker marks behind the bridge area which look like scratches, but and just part of the natural colouring of the Alder body.

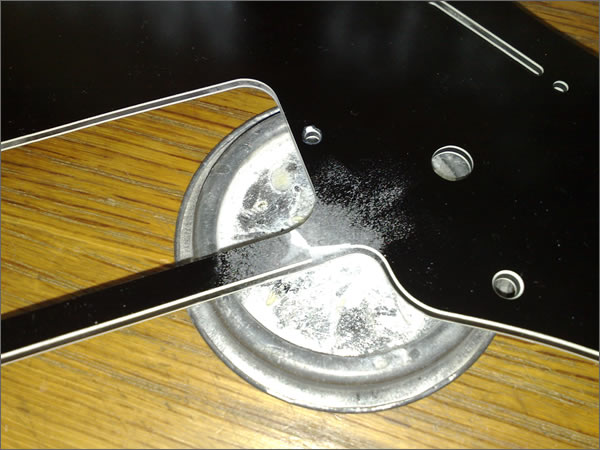
The scratchplate damage is the other main issue with this guitar, but it is fixable with no huge chunks missing; just a split below the bridge and a little piece gauged out. I have mentioned in the Westone Thunder rebuild series that my other hobby is building model cars. This comes in useful with guitar repairs too, as I am used to doing close intricate work, and I also have a large array of tools and items for manipulating plastic.
One such item is a product called microballoons, which is a filling material. It is basically a very fine white resin powder which is mixed with superglue to produce a sandable filler which sets almost instantly. I began by gluing the crack in the scratchplate with superglue, then when that had dried, I used the microballoons to build up the surface again to the previous level.
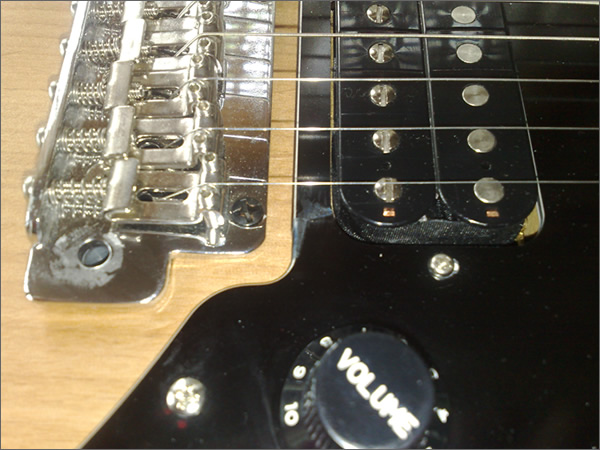
 Once this had dried, I carefully sanded back the excess coloured the white microballoon area with a black felt tip pen. It’s not perfect, but it’s a solid repair and hardly noticeable now the guitar is back together.

Next instalment will be about oiling the body and putting it all back together.
2 replies on “Westone Cutlass Rebuild pt 2 – The Body and the Scratchplate”
Nice job
Thanks Graham!