![]()
![]()
![]() I’m fully aware of how long it  has taken me to write this update and I seem to begin virtually every post with an apology these days, but you know how it is..
I’m fully aware of how long it  has taken me to write this update and I seem to begin virtually every post with an apology these days, but you know how it is..
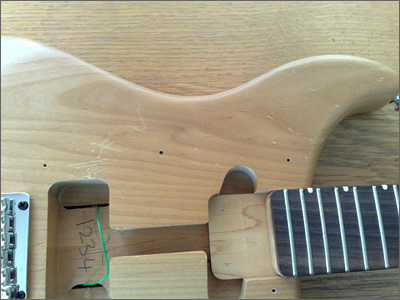
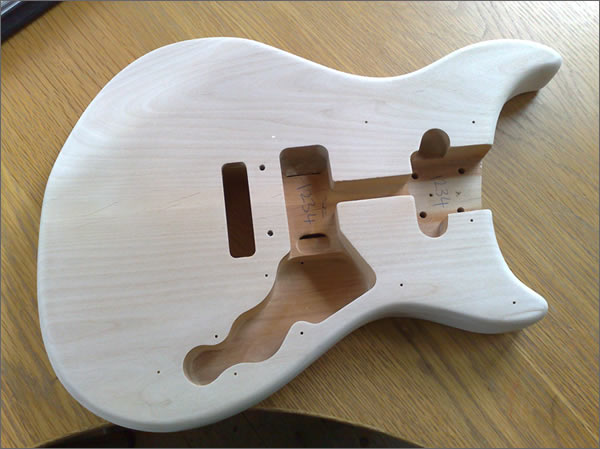
Anyway, the nice clean wooden body needed some protection from the wear and tear of musical life, and as I said in the last update all those months ago, the owner agreed with me about keeping it natural looking. The previous instalments of this series are here
After investigating various varnishes and lacquers, and taking advice from friends who know about this type of thing, I went for an oiled finish rather than a painted one. The problem with varnishes is that inevitably the finish will get damaged at some point and begin to chip away, looking pretty nasty over time.
 Oiling leaves a nice satin finish and brings out the grain of the wood, while giving a reasonable amount of protection. I headed off to my local DIY warehouse and bought a large tin of Danish Oil for under a tenner, which will probably be enough to refinish every Westone Cutlass in existence! Applying it couldn’t be easier…tip some sparingly onto a clean duster and stroke it into the wood, keeping the coverage as even as possible. It dries in about 15-20 minutes and then you can keep adding layers (3 or 4) until a decent covering has been built up.
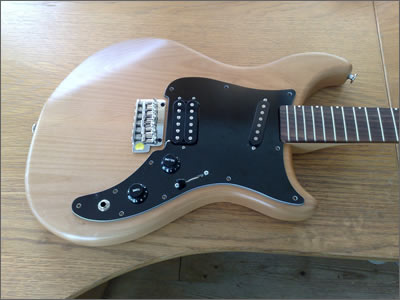
It looks pretty dark when first applied, but lightens up as it dries and soaks in, leaving the colour only slightly darker than the bare wood. When it has dried for a while the finish is buffed over with another clean duster to remove any excess and give a nice satin sheen.
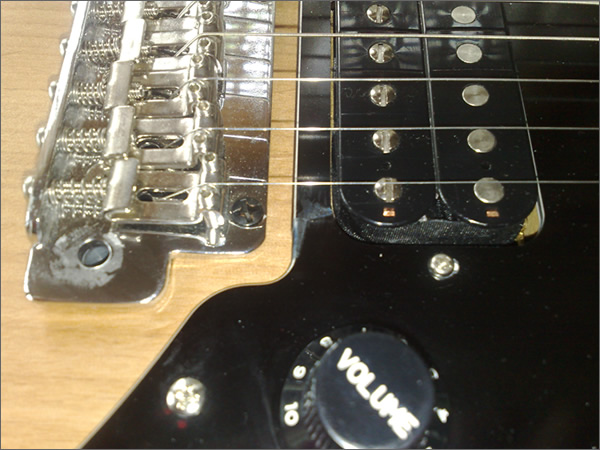
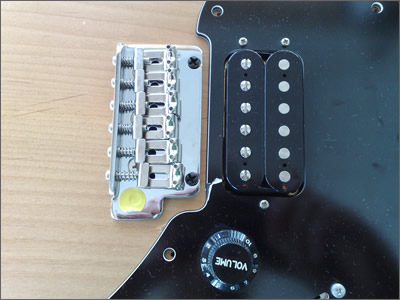
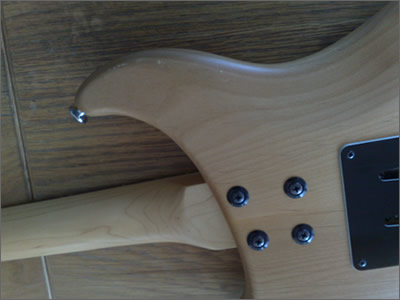
I left it for a few hours to be sure it was fully dried out and then began re-assembly. I screwed the neck and bridge back into place and reinstalled the springs on the trem block.
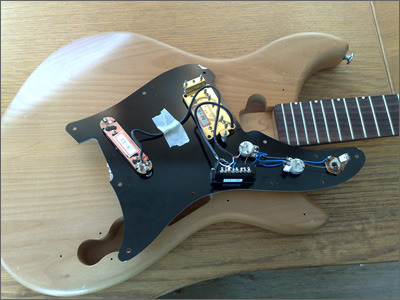
Most of the wiring was already in place as the scratchplate was fully assembled when I got the guitar, but I had dis-assembled it when I repaired the crack. I refitted the pickups and pots, and reattached the wires for the humbucking pickup which had become detached.
I did a quick test by plugging in a lead to the jack socket and my amp and tapped the pickups with a  screwdriver to check I had sound, and as all seemed ok I went ahead with re-fitting the scratchplate assembly.
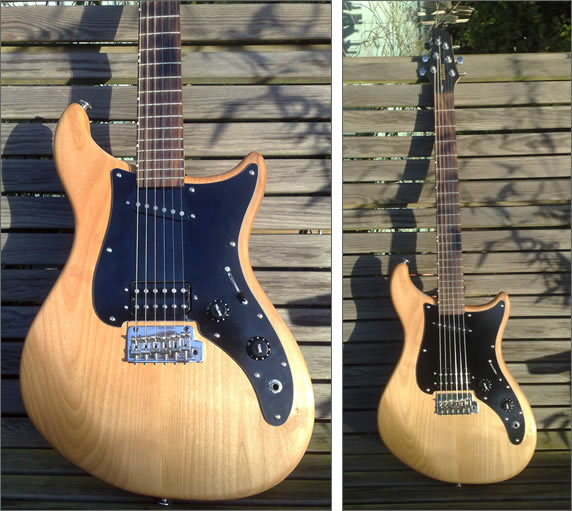
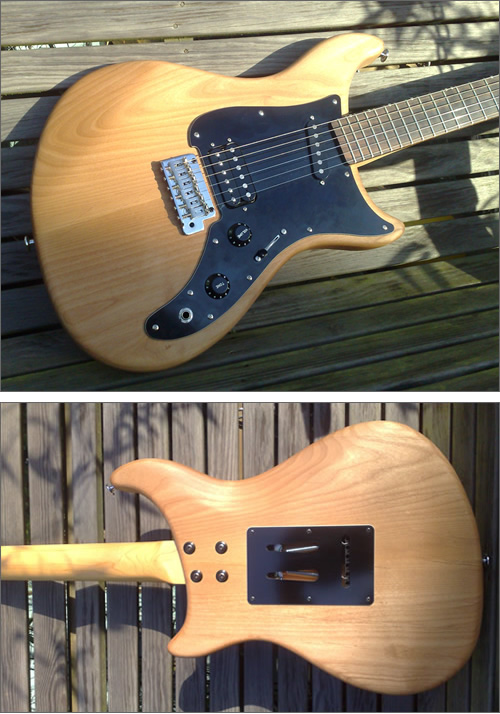
After that, it was just a case of re-stringing and setting the bridge. The neck was perfect and didn’t need any truss rod tweaking so the whole re-assembly took less than an hour. A real pleasure after the hassles with the Westone Thunder 1-T rebuild.
This is a GREAT guitar. I love the feel and the sound of it, It’s beefier than a Strat, but still capable of subtle tone variations. The humbucker (by Gotoh, I believe) screams nicely and the whole package is well balanced and well made.

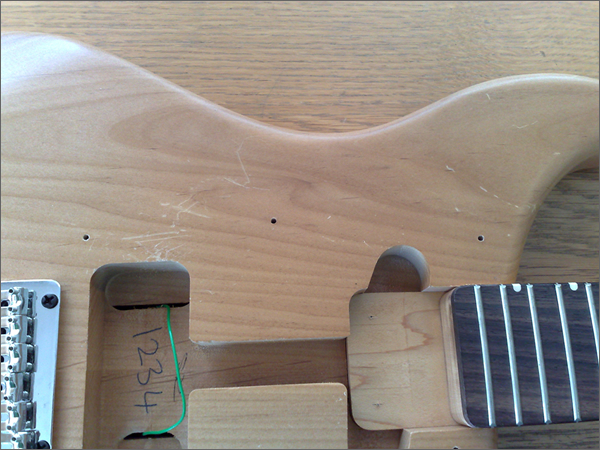
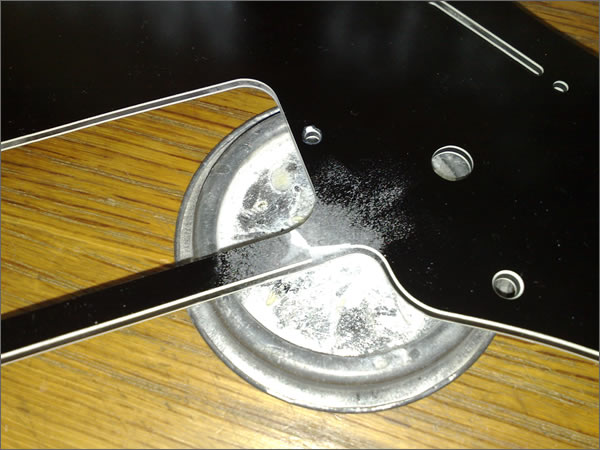 Once this had dried, I carefully sanded back the excess coloured the white microballoon area with a black felt tip pen. It’s not perfect, but it’s a solid repair and hardly noticeable now the guitar is back together.