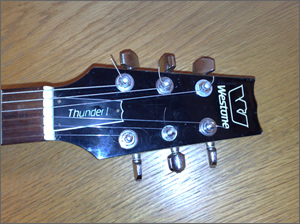
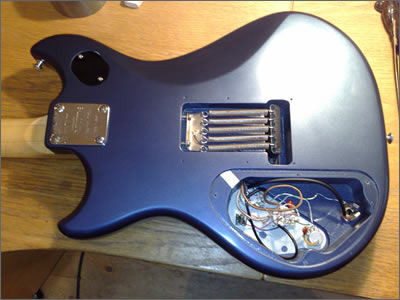
Now the body has been sanded and polished out, I can begin the rebuild, using a selection of old and new parts.
First thing to go back on was the neck. When I got the guitar it only had 2 screws holding it in place, instead of the 4 it should have.I managed to find two more similar screws, and using the old neck plate I re-attached the neck. Â Although the edges of the lacquer around the frets is a little scabby, I sanded it lightly to take the rough edges off and left it alone. I want to retain some “patina” of age. Â I did give the frets a good clean though, and also treated the fingerboard with a healthy dose of lemon oil.
I also stuck in a new nut, using 2 part epoxy glue, guessing the position. I was hoping that I wouldn’t have to break the glue joint to re-position the nut, and luckily I got it right first time..phew!
 The original machine heads were reinstalled before the neck was re-attached, using a flat washer to replace the one missing one. I also tightened up the tensioning screws, and the work just fine, although the chrome is showing its age somewhat.
The one cock-up I made was in polishing the truss rod cover…I thought the lettering was indented, and in my enthusiasm polished it a little too vigurously, losing a little definition on the letter edging…oh well…
The bridge went back on next, then the pickups, with new screws and pickup rings. The wiring was fed through to the cavity, but left for now. I also fitted the new pickup selector switch, using the original brass lock nut, again, feeding the wiring through to the cavity.
The next post will be about my wiring adventures, but here’s a sneak preview of the insides…Thanks for reading!
Â
