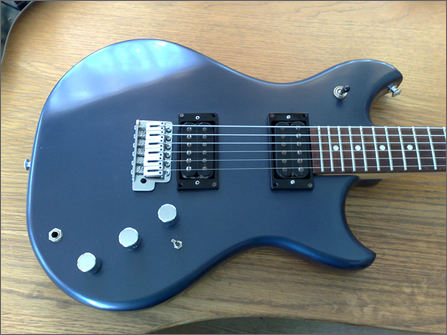
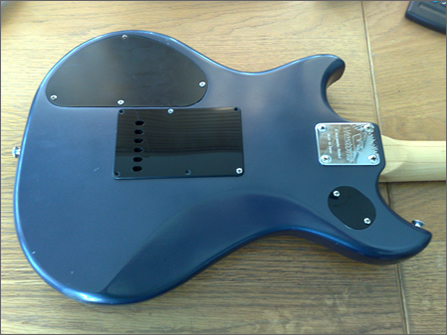
I can’t believe that last update on this subject was December 31st 2008!
Sorry for the massive time lag, in truth the guitar was finished months ago but I had been busy writing on so many other subjects I just forgot to tie this subject up.
In the last post I alluded to the wiring issues I was facing. It took a bit of head scratching and some advice from a few knowledgable friends to finally solve the issue I had with an earth type buzz. It turned out I had bought a stereo jack socket and wired it wrongly. Once that was solved, and I found a great wiring diagram from the fantastically useful Westone Info site I was sorted. I used new shielded cable for all the new wires and resoldered all the joints on the existing wiring.
All that was then left to do was restring it and set it up. After a little tweaking of the string heights it was playing great.
It’s a heavy guitar..almost in Les Paul territory..and this adds to the feel of solidity when you play it, although I think the shape is more comfortable than a Les Paul. The pick ups are gutsy, and the coil tap switch adds a nice dimension, allowing some decent “thinner” single coil tones through for clean picking. The worn lacquer on the neck sides adds to the “patina” of playing an older guitar, and the paint finish, although not perfect, is certainly a big step from the way it looked when it arrived!
Overall its a versatile guitar and well beyond the feel of being the budget instrument it was originally marketed as.
Since this project started I have been approached to do another westone rebuild, a Cutlass, which is in much better shape. I’ll be filling you in with the details in the next post.
Thanks to everyone who has commented on this project, particularly the guys and girls over at the Westone Forum for their advice and encouragement.

